
easy to know
How to Make Your Own Grip Socks at Home?
For fitness enthusiasts who love yoga and Pilates, or soccer fans, grip socks are undoubtedly a familiar piece of equipment. However, high-quality grip socks are often quite expensive, whether purchased online or in physical stores. Does this mean that to own a pair of unique and comfortable grip socks, you have to spend a fortune? Don’t worry—today, we’ll show you how to unlock a new skill: customizing your own grip socks at home with a unique design.
Content Quick View
1.What are grip socks?
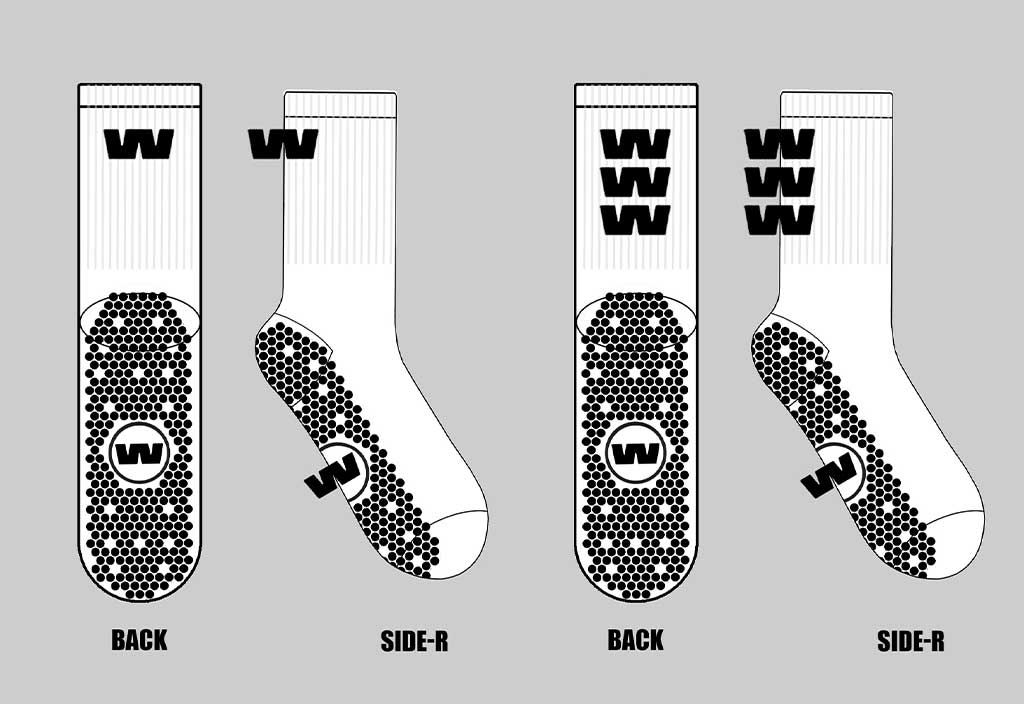
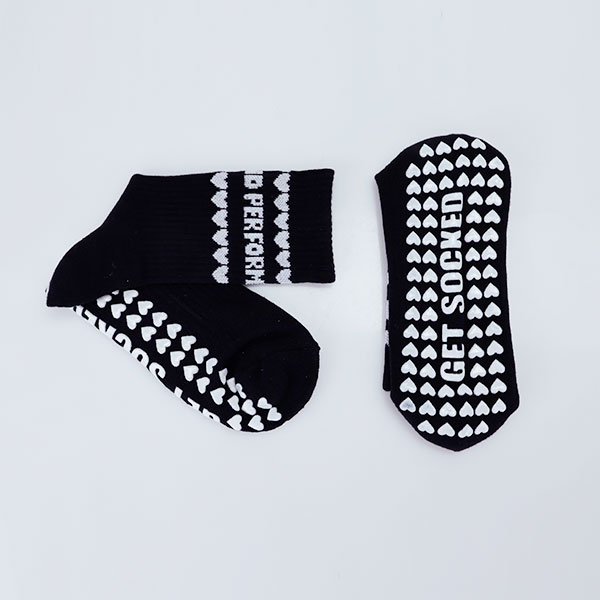
Grip socks are socks with silicone, PVC, or rubber “small particles,” “wave patterns,” or other anti-slip patterns on the sole.
The biggest difference between grip socks and ordinary socks is that the inside of the socks has a soft, towel-like cushioning layer and anti-slip patterns on the outside.
In a nutshell: Grip socks are “socks with built-in brake pads on the soles.”
2.Prepare materials for custom logo grip
Before making a custom logo grip, we need to prepare some common materials and tools.
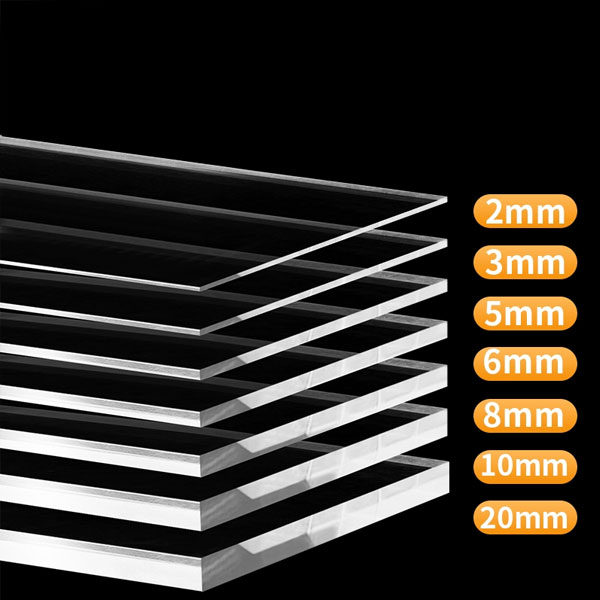
1.Transparent acrylic board, A4 paper size, thickness 2 mm: 1 pcs
- You can consult the seller when purchasing, and they can customize the pattern for you. If this is not possible, you will need to prepare a laser cutting machine and cut the pattern yourself.
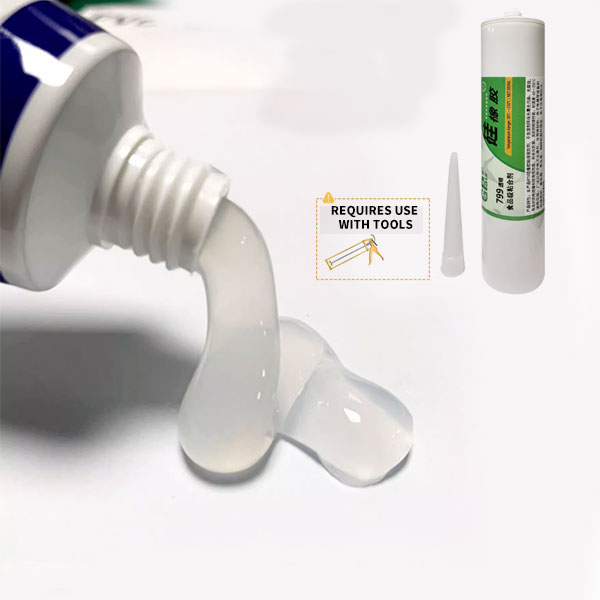
2.Food-grade silicone adhesive :1 pc ,300ml(You can buy the color you like.)
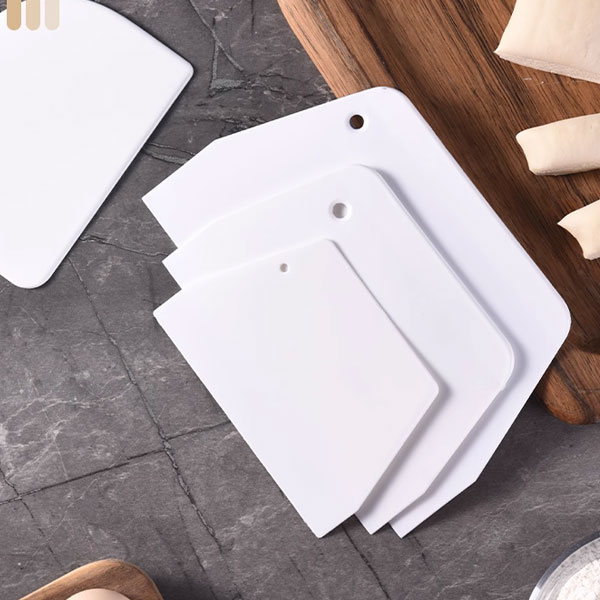
3.silicone scraper: 1 pc
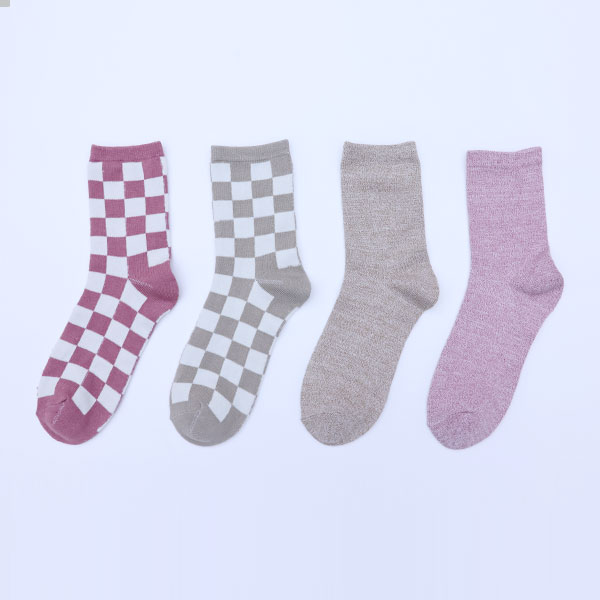
4.A pair of socks as your like.
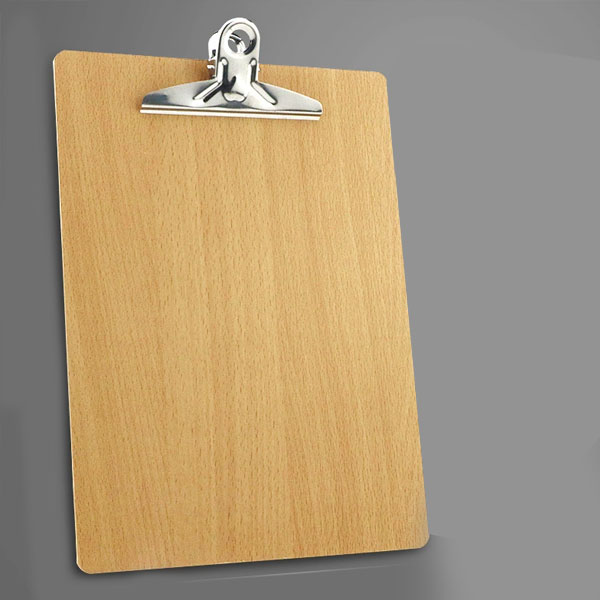
5.Four large clips and a piece of hardboard the size of an A4 sheet of paper
3.how to make my own grip socks
Method 1: Suitable for beginners, DIY enthusiasts, and simple pattern creation.
- Spread out the bottom of the sock, then clamp it onto the hard board you prepared earlier.
- Use silicone glue to apply it directly onto the socks and create your design.
- Then wait for more than 1 day for the silicone to dry naturally.
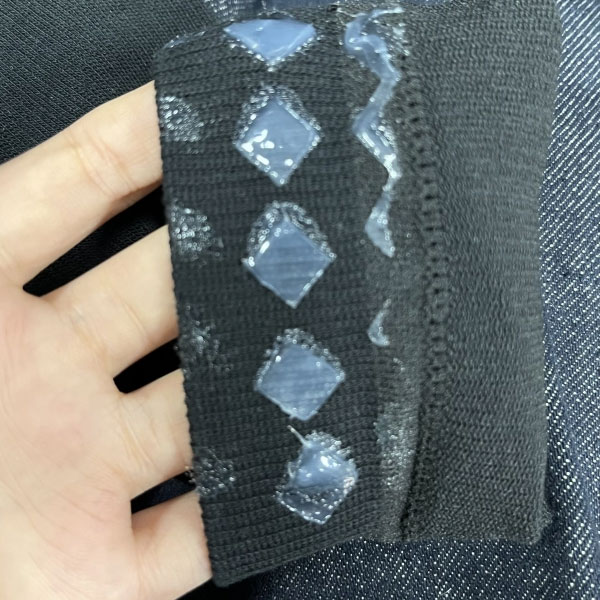
Note:
- Advantages: Requires few materials and can be done anytime. Easy to learn.
- Disadvantages: The patterns created using this method are likely to be irregular and difficult to control in shape, making it suitable only for beginners and DIY enthusiasts.
Method 2: Suitable for experienced professionals, fashion designers, and sock designers, who typically require precise control over pattern design and details.
- Design logo: Use CAD/AI software to draw hollow patterns and export them in vector format (DXF/SVG).
- Transfer the logo to the laser engraving machine, fix the acrylic plate, and make the logo.
- Spread the bottom of the socks on a hard board, then press the acrylic plate with the logo on it, and fix the four corners with clips to ensure that the acrylic plate is flat and stable.
- Apply silicone glue around the hollow logos
- Use a silicone scraper to quickly scrape across the acrylic plate
- Wait for 1 day and remove the acrylic plate after the silicone has dried naturally. Note: If you remove the acrylic sheet before the silicone has dried, it will affect the appearance and shape accuracy of the final logo.
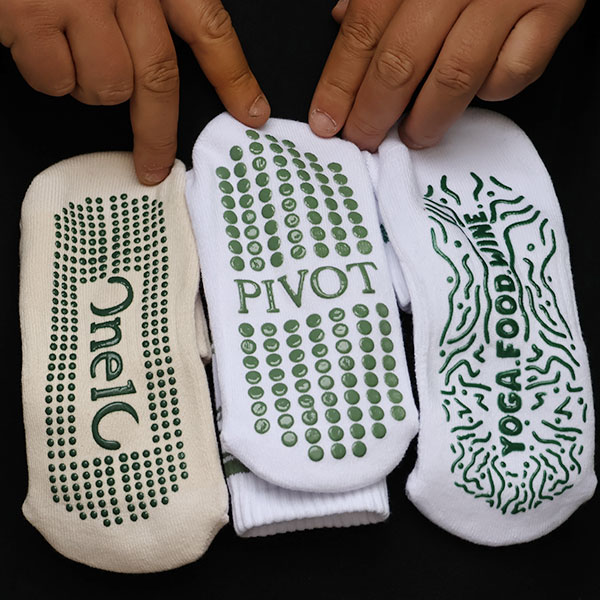
Note:
- Advantages: The pattern can be controlled very finely, and you can design any pattern you want
- Disadvantages: The operation is difficult and the error tolerance is low. And it requires a lot of tools to complete the final customized logo grip. It is only suitable for people with strong hands-on ability.
diy socks | A professional custom logo grip socks manufacturer
- Low MOQ order: 25 pairs 100USD free shipping to you hand.
- 7 days get samples
- Free Design & Mockup
- custom socks card and packaging
- Over 100 free grip design free using
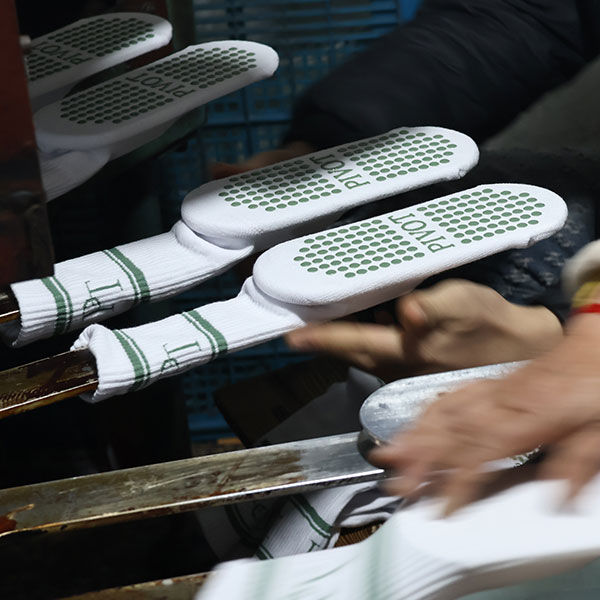
summary
If you are a novice, it is recommended to use method 1, which is simple and convenient. If you are a DIY enthusiast or a sock designer, you can try method 2. If you need a batch of customized logo grip socks, you can also contact us to produce these socks faster and in batches.